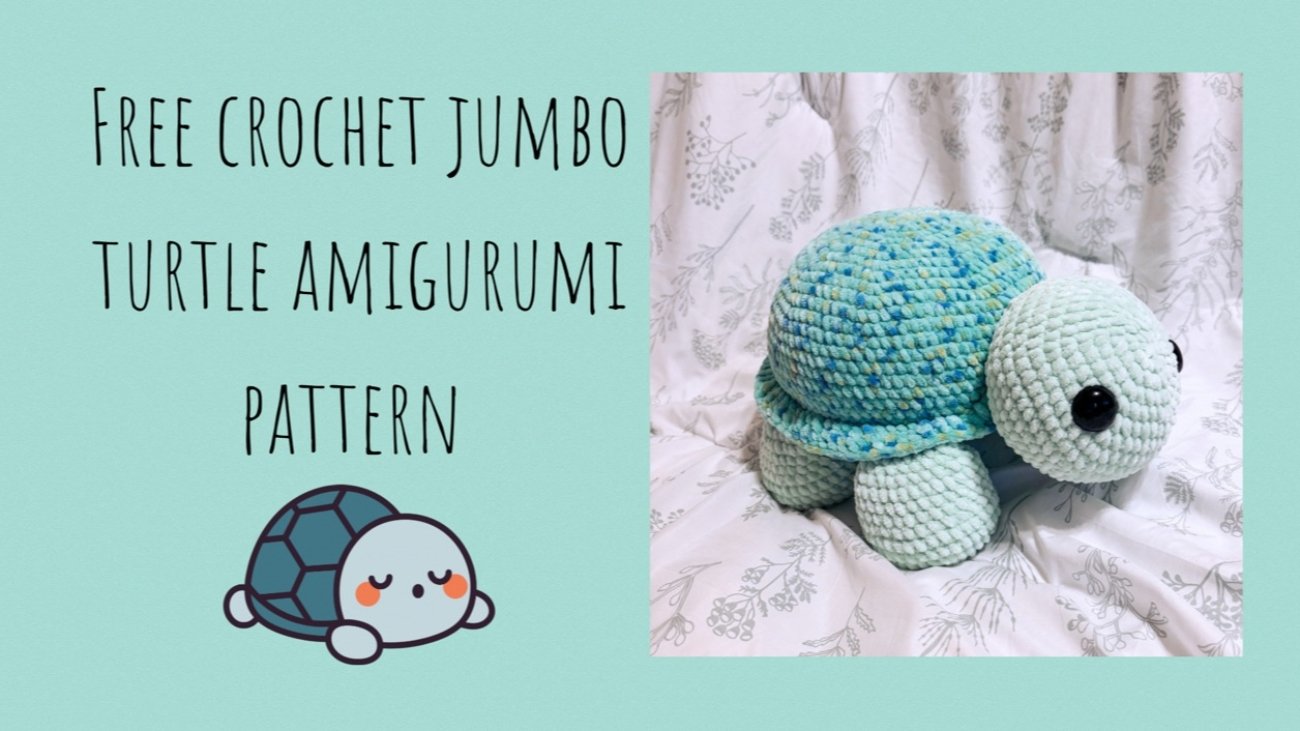

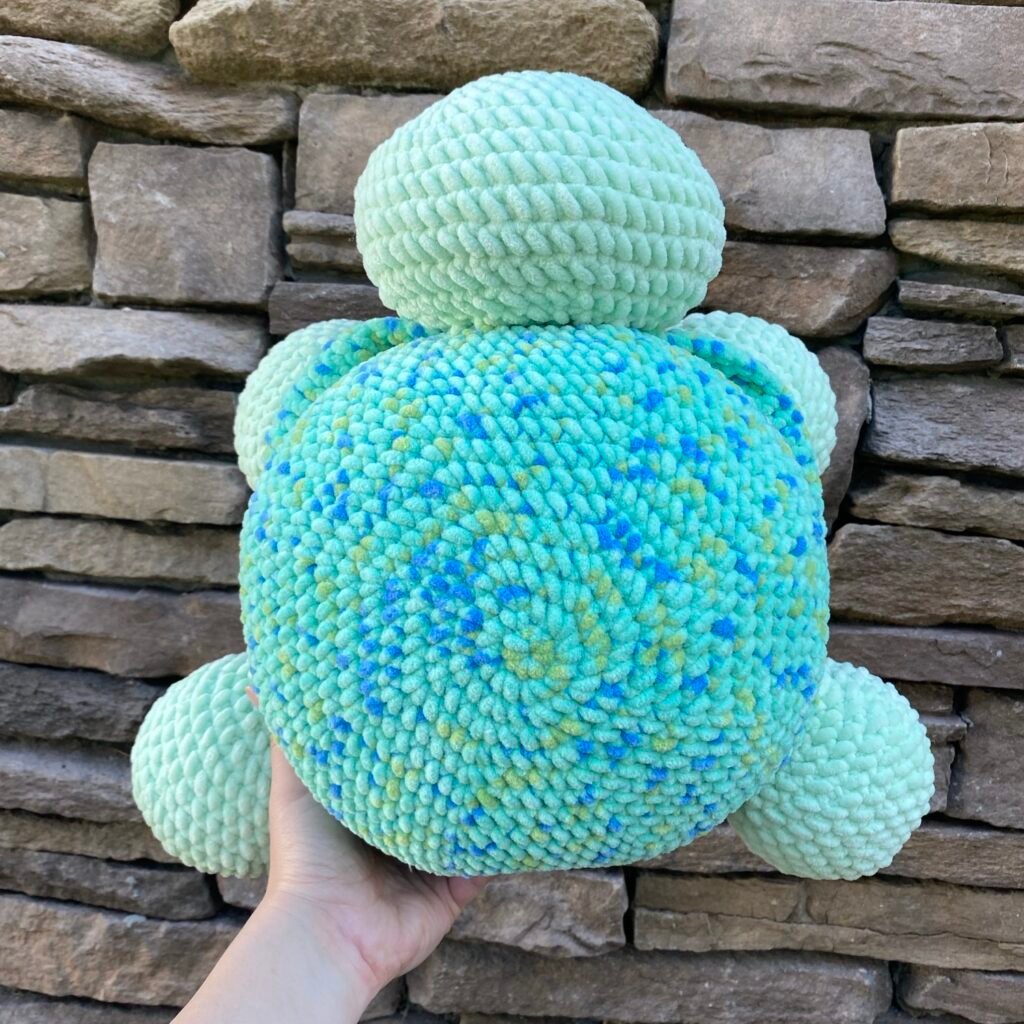
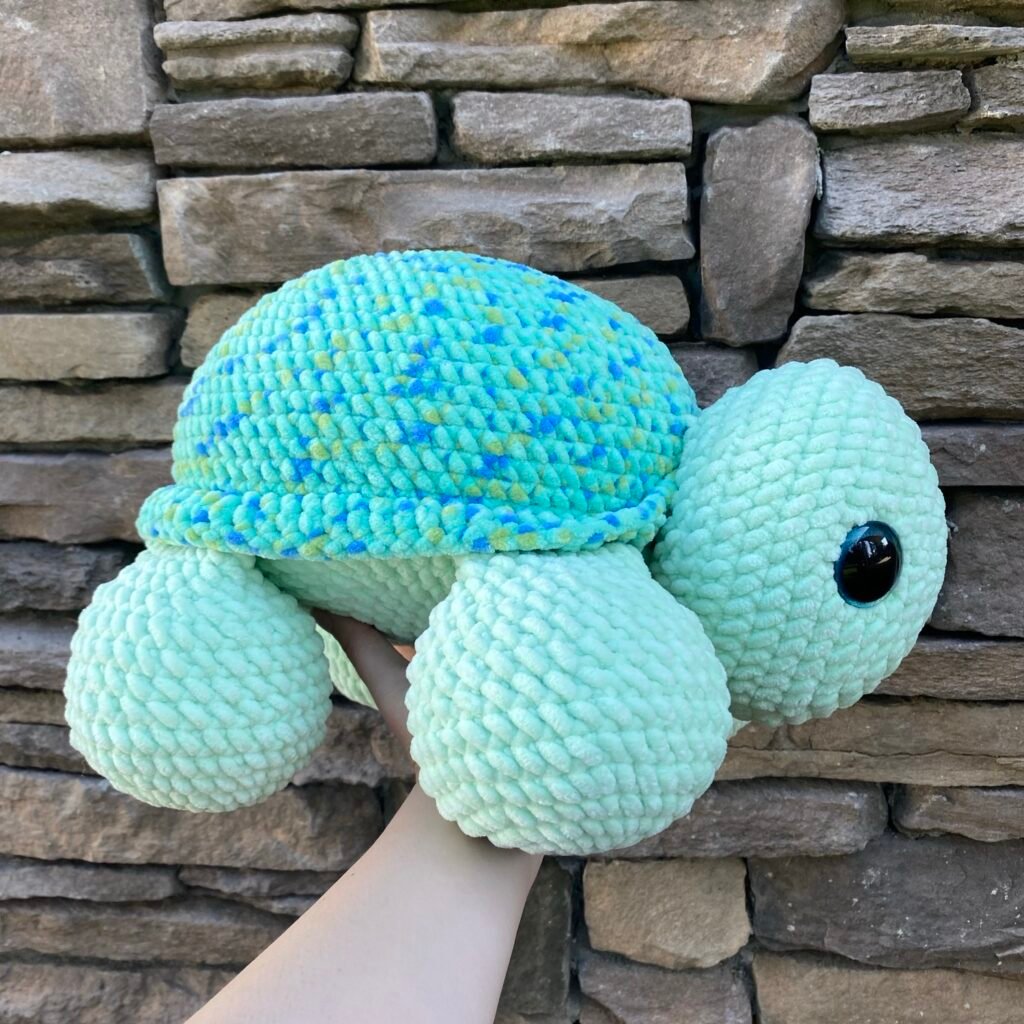
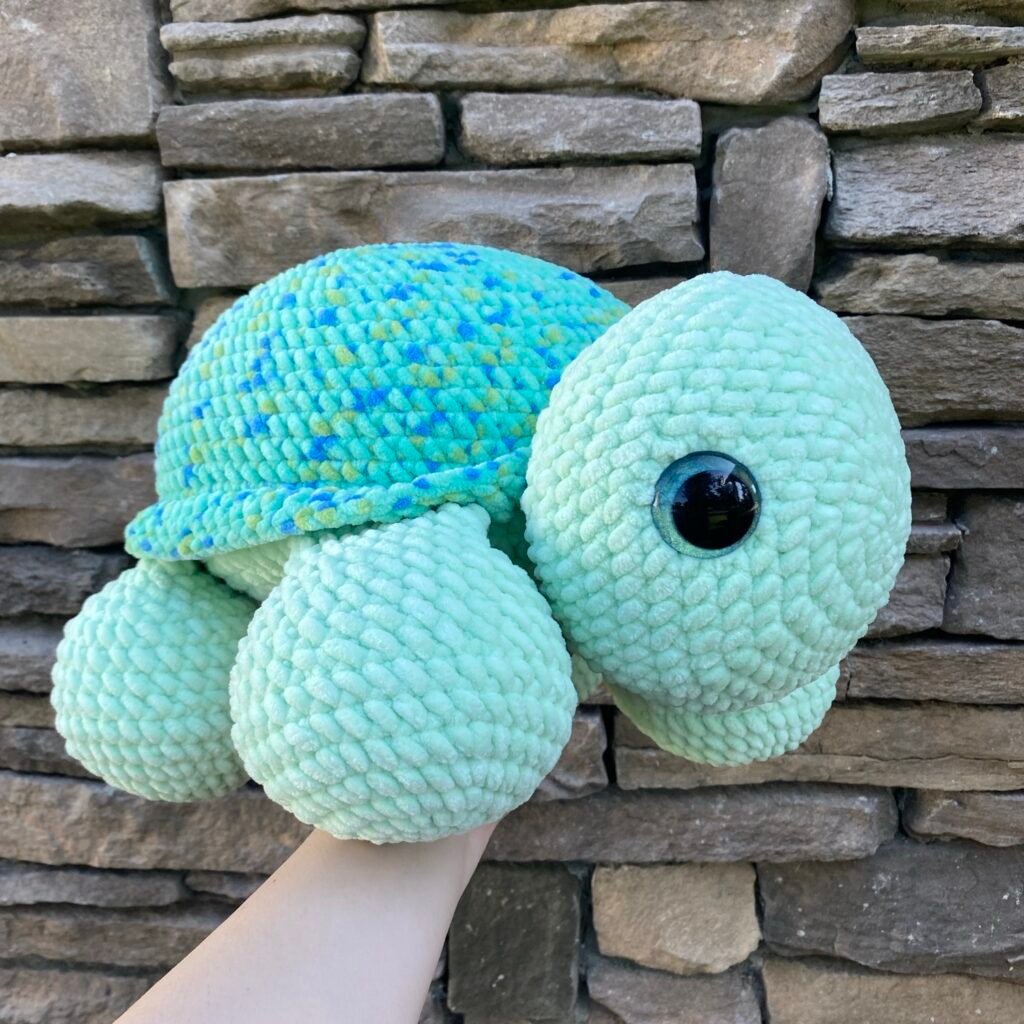
Here’s one of my biggest patterns! (So far, at least) Sequoia the jumbo turtle. I really love this turtle because the legs are made to allow it to stand up, and the head does not tip the turtle over! The legs honestly are my favorite part about this pattern. They’re just so cute 🐢
If you enjoy this pattern, please give me a follow on social media and let me know what other free patterns you would love to see! Also, don’t forget to tag me in your creations!
You can also find this pattern as well as three other turtles, on my etsy if you prefer to purchase it! It’s formatted, clearer photos (uploading them to the blog lessens quality) and free of watermarks 😊
NOTES
Pattern is written in US terms.
Follow the pattern as written.
This pattern is worked in continuous rounds, do not slip stitch after each round.
Use a stitch marker to indicate the beginning of your round if desired
The designer is right handed and uses the yarn under technique.
ABBREVIATIONS
mc- magic circle
ch- chain
tr- treble crochet
dec- decrease
inc- increase
() x#- repeat
sc- single crochet
slst- slip stitch
( )- stitch count
F/O- fasten off
BLO- back loops only
FLO- front loops only
MATERIALS
HOOK- 3.5 mm • US size E
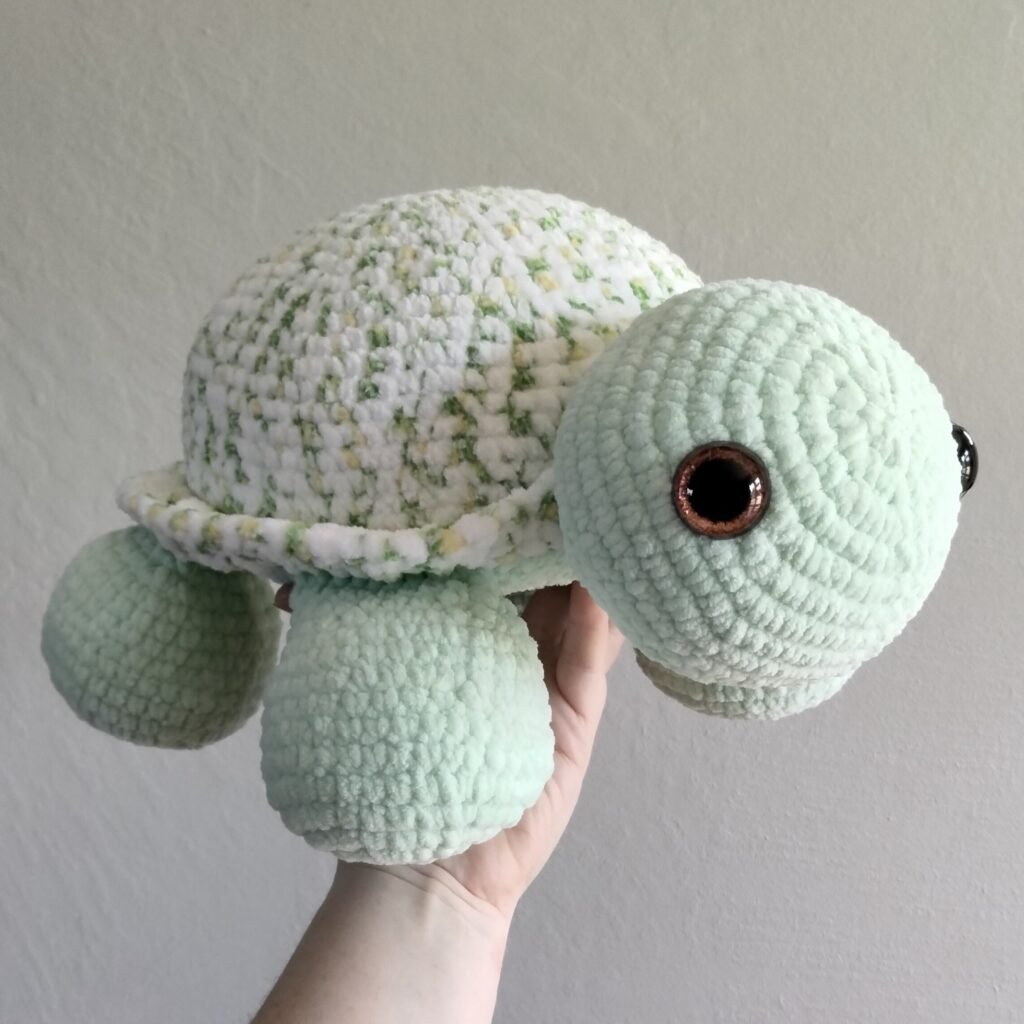
YARN- Sweet Snuggles Lite by Loops & Threads. Color: mint, coastal dot
NOTIONS-
Scissors
Stitch marker
Darning needle
OTHER-
Polyfil
30mm safety eyes
PATTERN
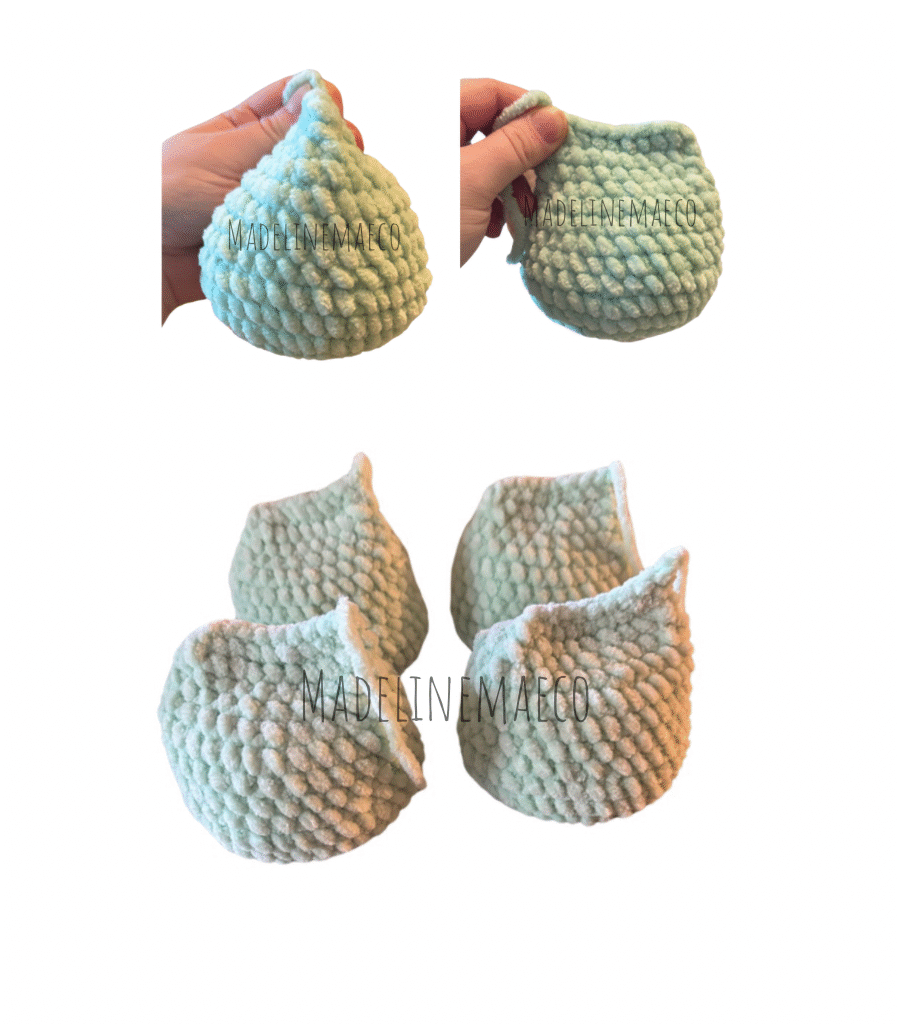
HEAD
make one.
In mint
Round 1. 8 sc into mc (8)
Round 2. (inc) x8 (16)
Round 3. (1 sc, inc) x8 (24)
Round 4. (3 sc, inc) x6 (30)
Round 5. (4 sc, inc) x6 (36)
Round 6. (5 sc, inc) x6 (42)
Round 7. (6 sc, inc) x6 (48)
Round 8. (7 sc, inc) x6 (54)
Rounds 9-12. 4 rounds of 54 sc
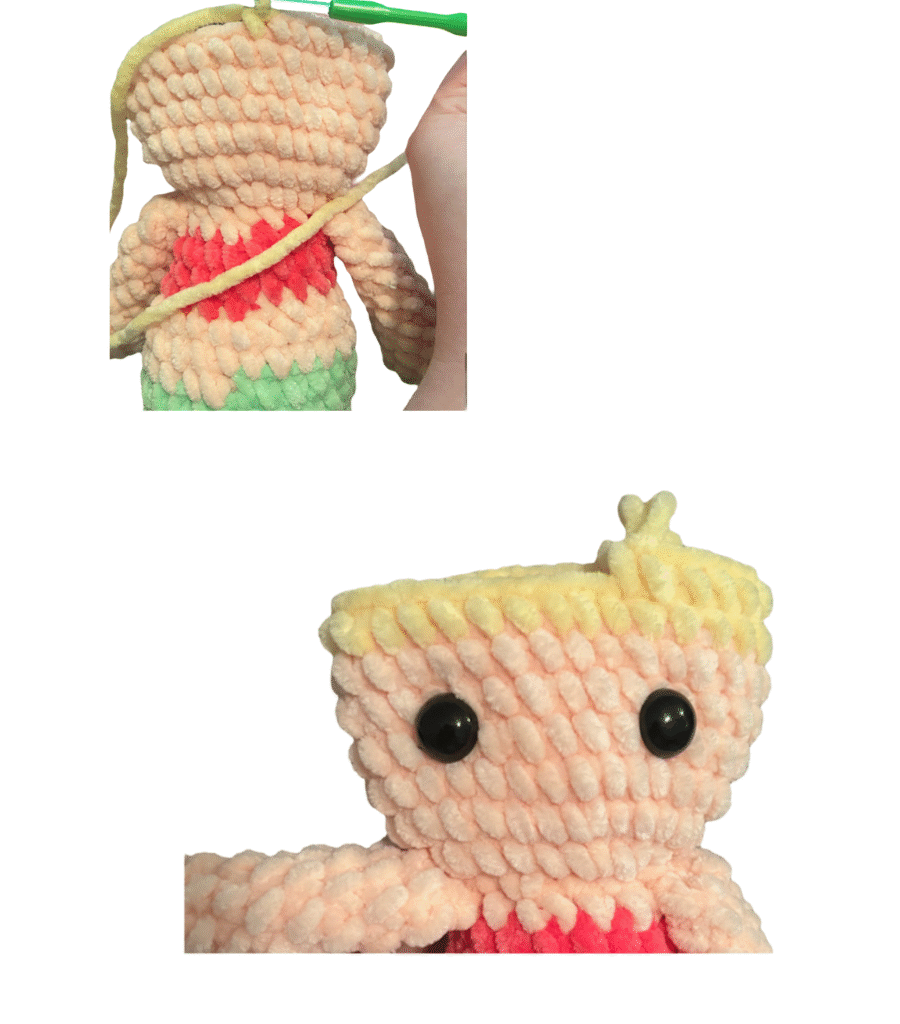
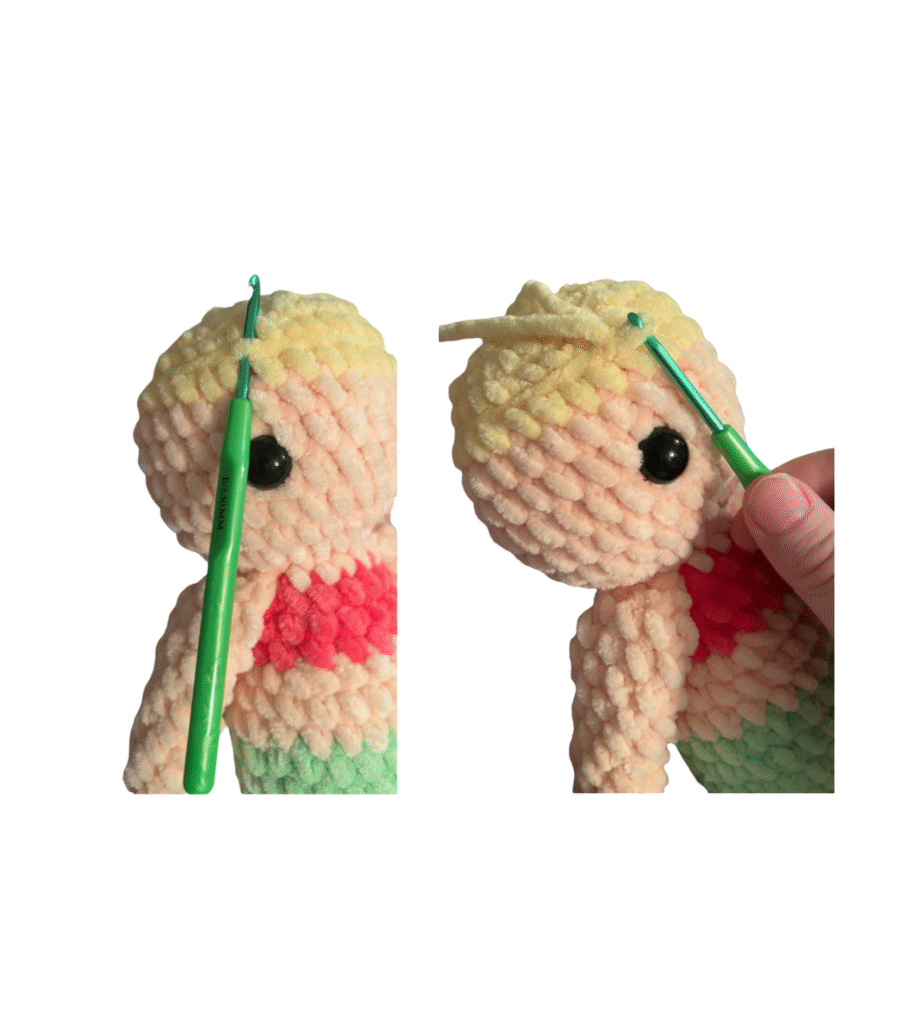
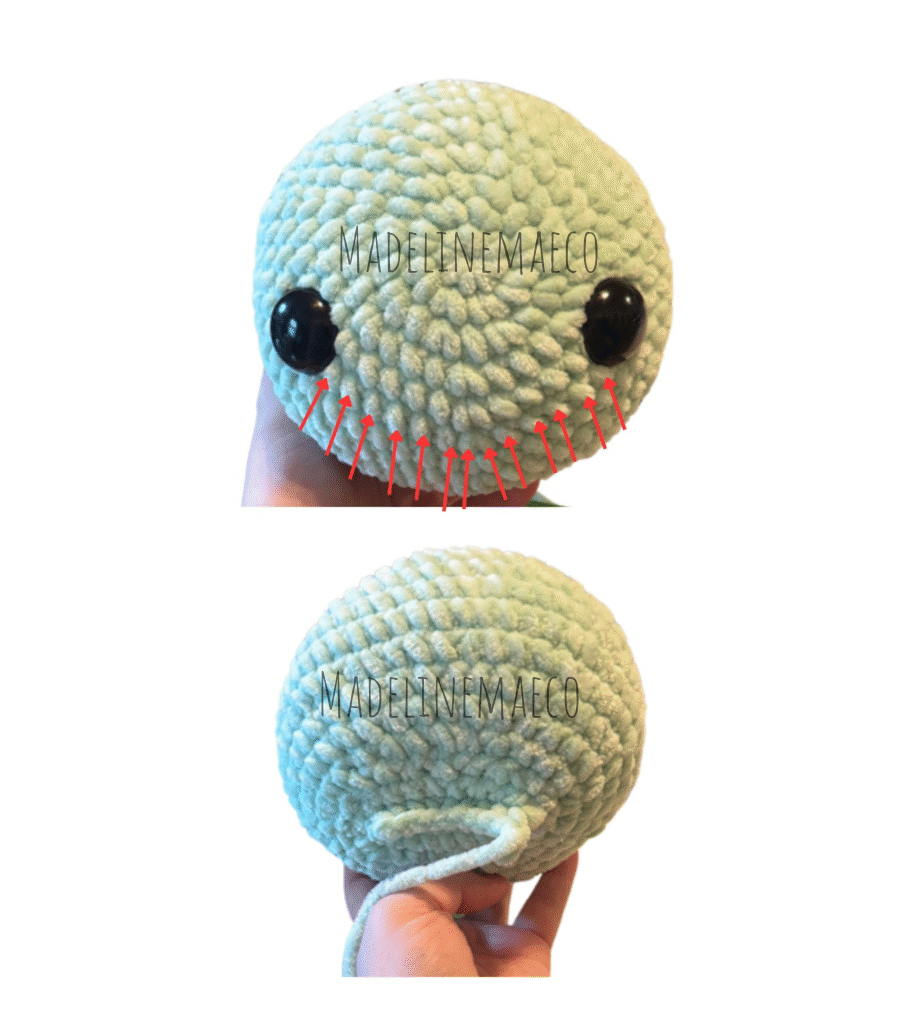
Insert safety eyes now in between rounds 6+7, 12/13 visible stitches apart.
Round 13. (4 sc, dec) x9 (45)
Round 14. (3 sc, dec) x9 (36)
START STUFFING + SHAPING- continue to stuff + shape as you go
Round 15. (4 sc, dec) x6 (30)
Round 16. (3 sc, dec) x6 (24)
Round 17. (2 sc, dec) x6 (18)
Round 18. 18 sc
STUFF AND SHAPE THE HEAD WELL
You may need to sc a stitch or few to make sure the eyes are in the middle when closing the head, check to make sure the eyes line up correctly on each side.
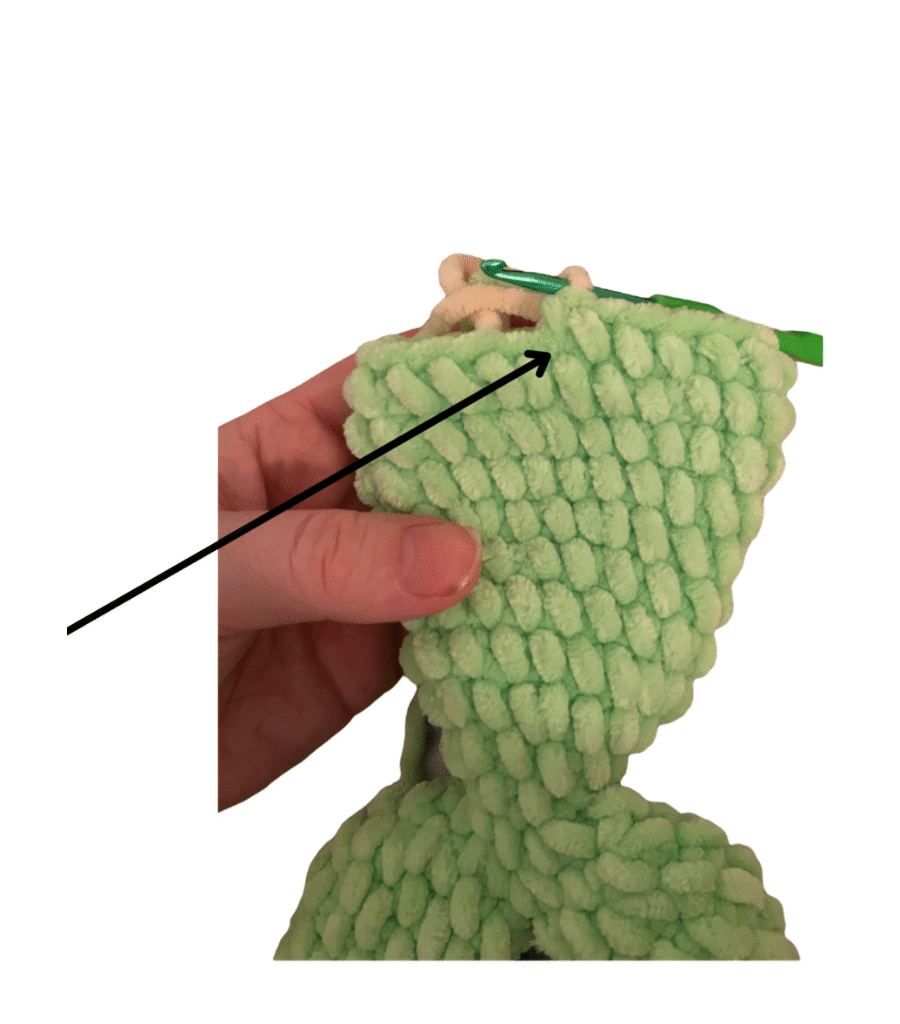
Last Step. Fold the head in half like a sandwich and: 9 sc closed (9) If needed, crochet until you are in line with the eye before closing.
F/O. Leave a long yarn tail to pin the head onto the shell later on. The head will be crocheted into the body later on. However, with this turtle because it is MUCH larger than my other turtle patterns- I’ve found that attaching cotton or acrylic yarn is stronger than using the sweet snuggles lite to sew the head to the shell later on.
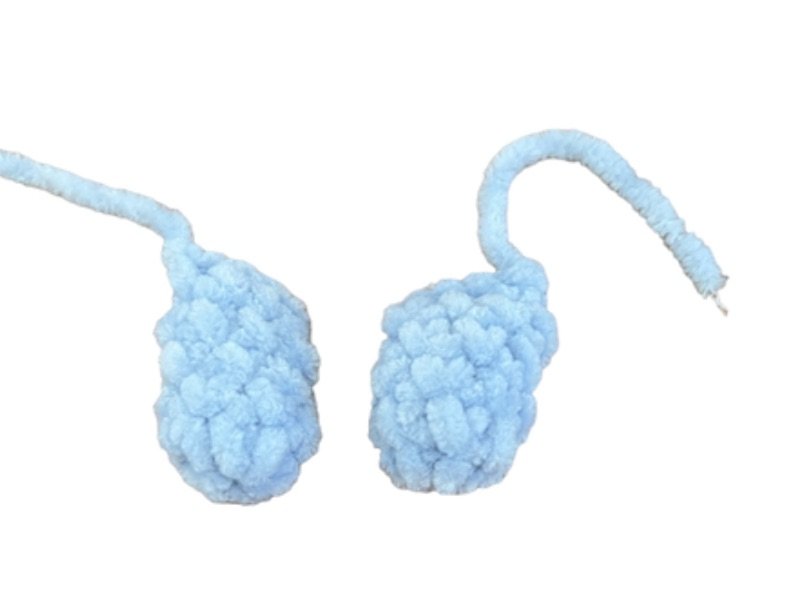
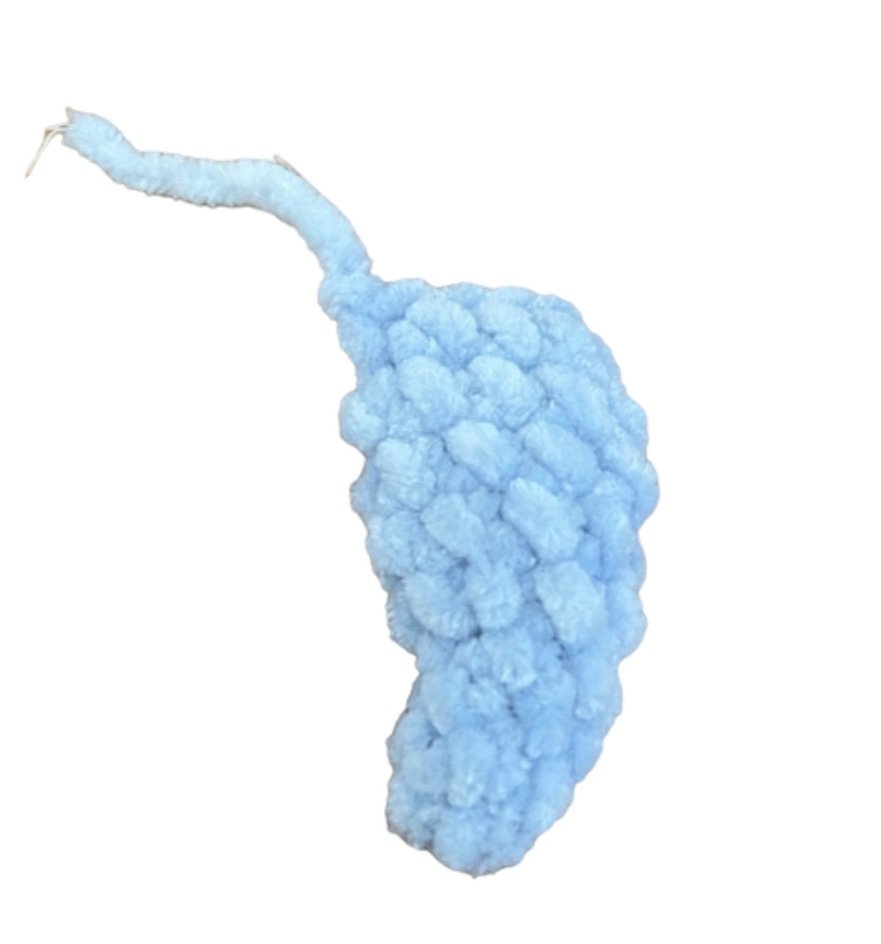
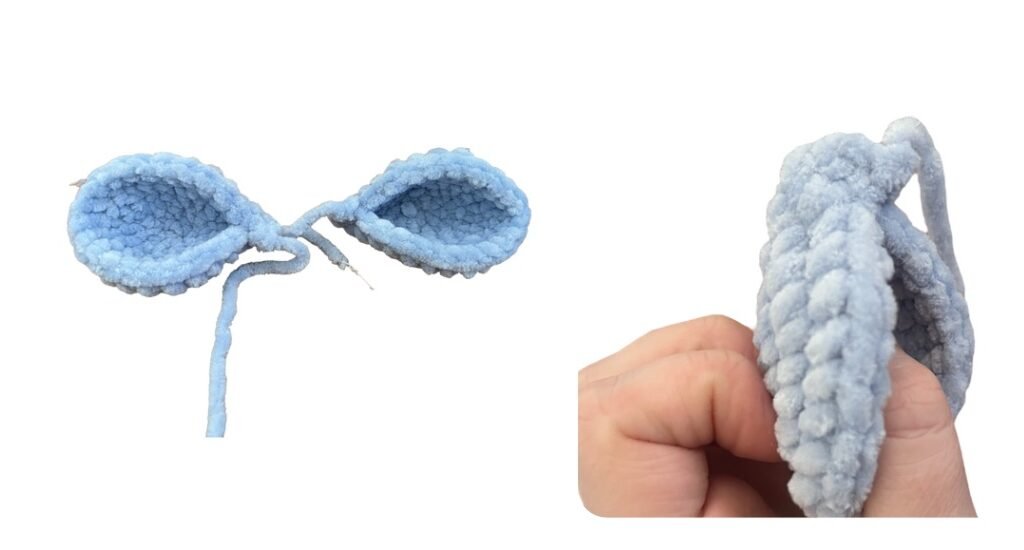
LEGS
make four.
In mint
Round 1. 8 sc into mc (8)
Round 2. (inc) x8 (16)
Round 3. (1 sc, inc) x8 (24)
Round 4. (3 sc, inc) x6 (30)
Round 5. (4 sc, inc) x6 (36)
Rounds 6-7. 2 rounds of 36 sc
Round 8. (4 sc, dec) x6 (30)
Rounds 9-11. 3 rounds of 30 sc
Round 12. (3 sc, dec) x6 (24)
Lightly stuff + shape the leg now, do not stuff anymore going forward
Round 13. (4 sc, dec) x4 (20)
Round 14. dec, 16 sc, dec (18)
Round 15. 18 sc
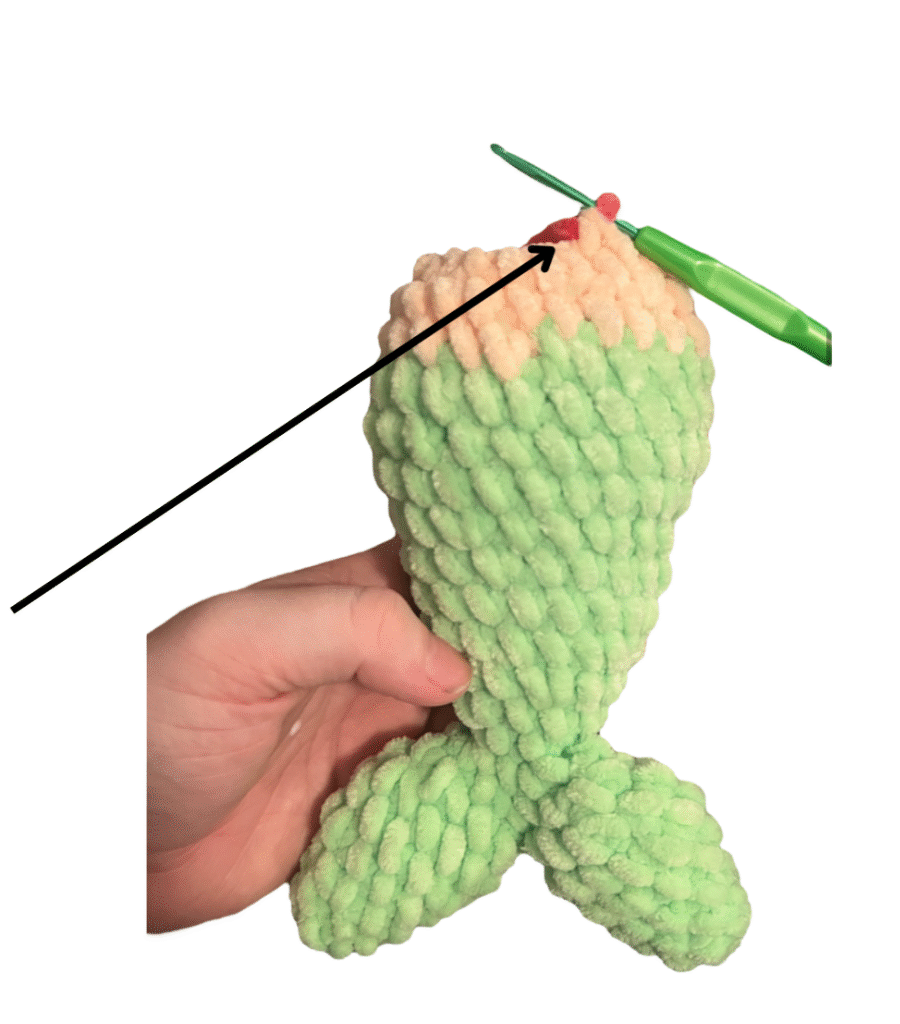
Last Step. Fold the leg in half like a sandwich and: 9 sc closed (9)
F/O. Leave a short yarn tail. The legs will be crocheted into the body later on.
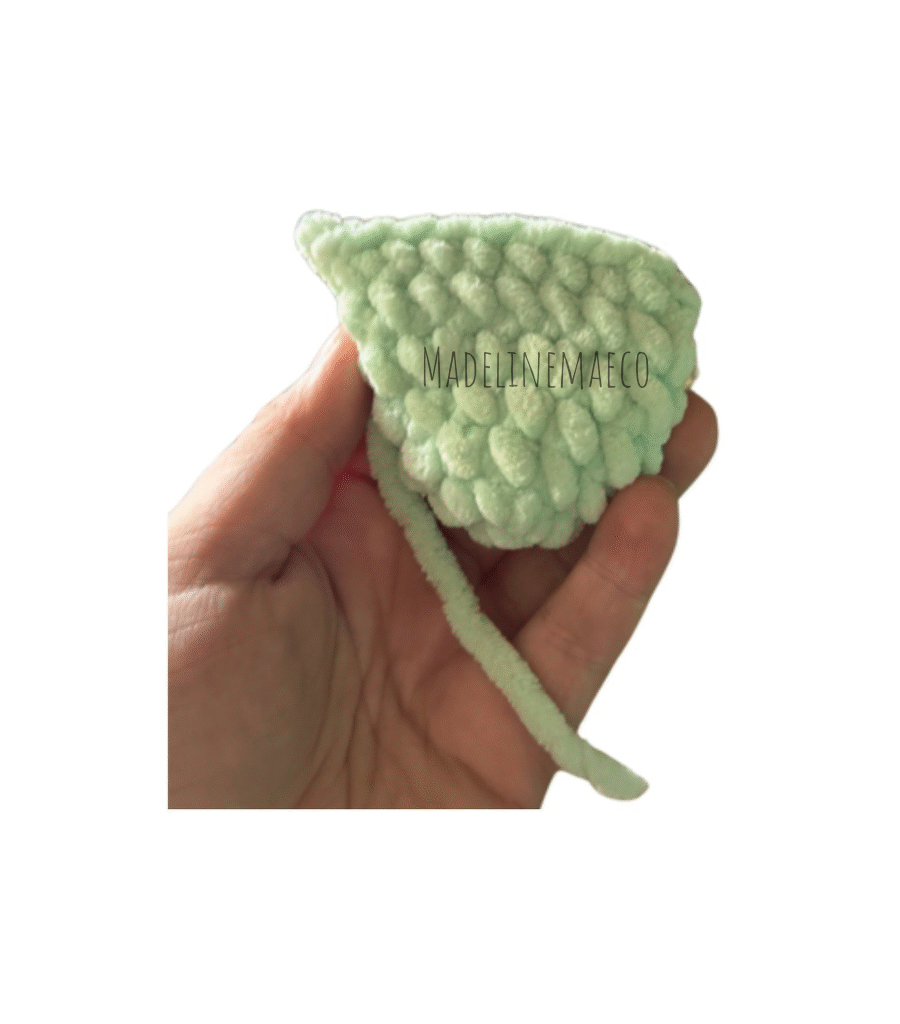
TAIL
make one.
In mint
Round 1. 6 sc into mc (6)
Round 2. (inc) x6 (12)
Rounds 3-4. 2 rounds of 12 sc (24 sc total)
Round 5. (1 sc, inc) x6 (18)
Do not stuff
Round 6. dec, 14 sc, dec (16)
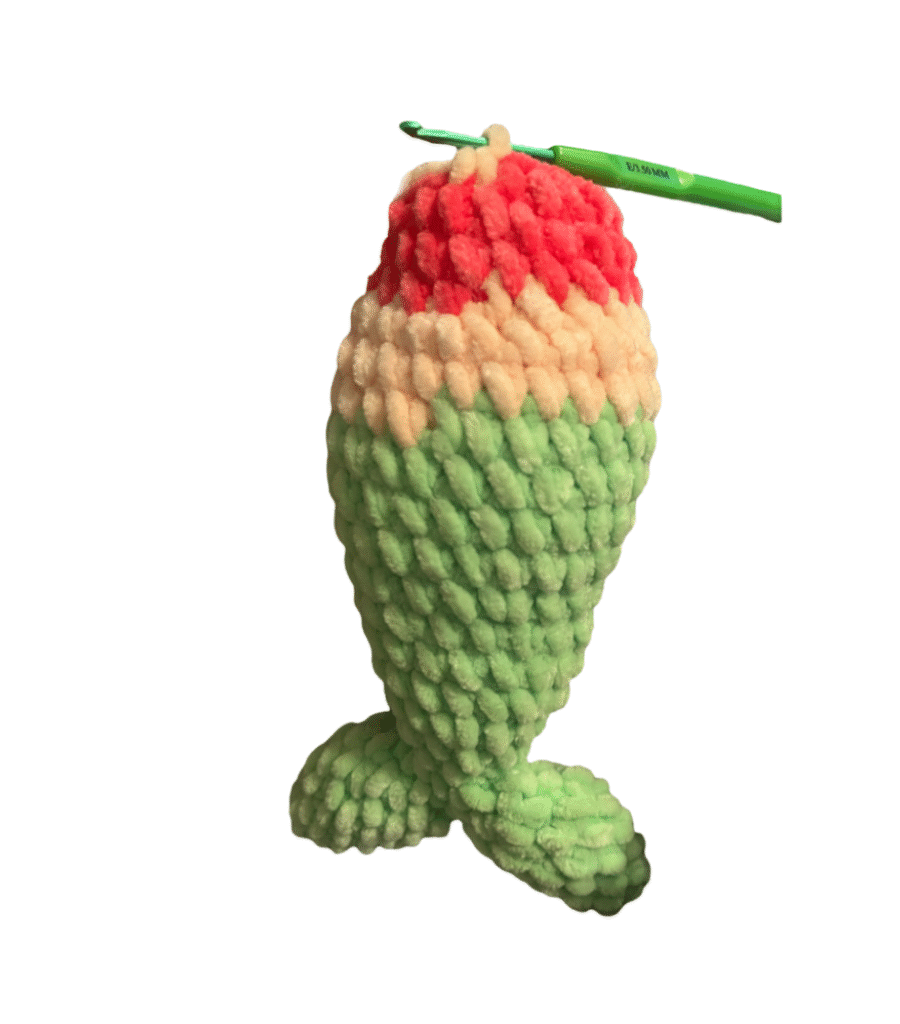
Last Step. Fold the tail in half like a sandwich and: 8 sc closed (8)
F/O. Leave a short yarn tail. The tail will be crocheted into the body later on.
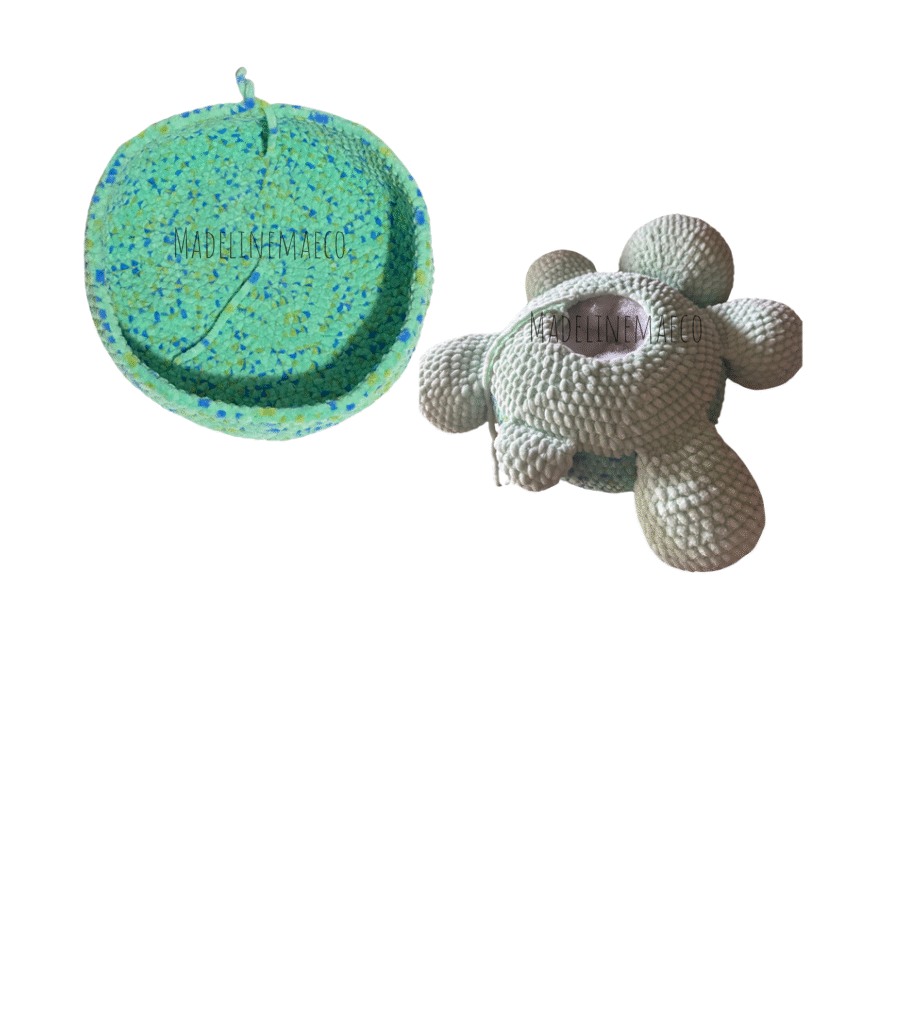
SHELL
Starting in coastal dot
Round 1. 8 sc into mc (8)
Round 2. (inc) x8 (16)
Round 3. (1 sc, inc) x8 (24)
Round 4. (2 sc, inc) x8 (32)
Round 5. (3 sc, inc) x8 (40)
Round 6. (4 sc, inc) x8 (48)
Round 7. (5 sc, inc) x8 (56)
Round 8. (6 sc, inc) x8 (64)
Round 9. (7 sc, inc) x8 (72)
Round 10. (8 sc, inc) x8 (80)
Round 11. (9 sc, inc) x8 (88)
Rounds 12-21. 10 rounds of 88 sc
CC to mint & F/O coastal dot
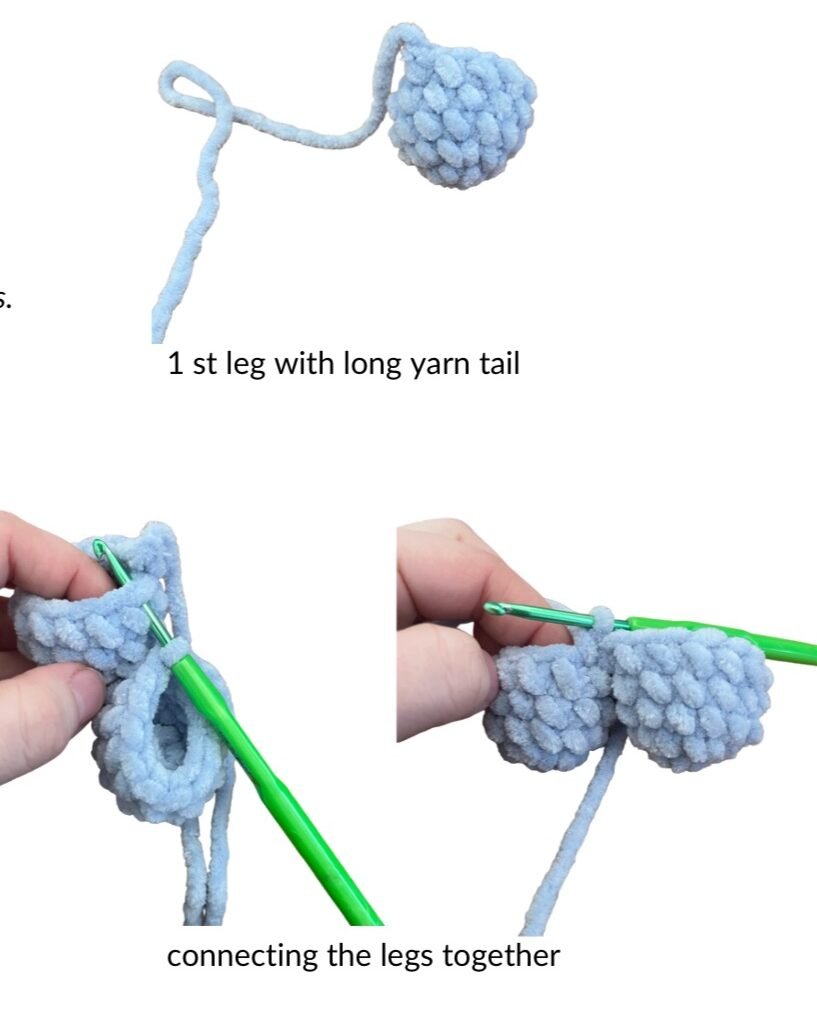
Round 22. BLO (whole round, mark the first FLO for later)- the yarn tail from closing the legs should be facing the front of the body, the yarn tail from the head & tail do not have to placed a specific way. 2 sc, crochet head into body with 9 sc, 4 sc, crochet first leg into body with 9 sc, 8 sc, crochet second leg into body with 9 sc, 6 sc, crochet tail into body with 8 sc, 6 sc, crochet third leg into body with 9 sc, 8 sc, crochet last leg into body with 9 sc, 1 sc (88) make sure the long tail from the head is out of the shell/body so you can sew the head in place later on
Round 23. (9 sc, dec) x8 (80)
Round 24. (8 sc, dec) x8 (72)
Round 25. (7 sc, dec) x8 (64)
Round 26. (6 sc, dec) x8 (56)
Stuff the shell and body well now, make sure it’s nice and round
Round 27. (5 sc, dec) x8 (48)
Continue to stuff and shape
Round 28. (4 sc, dec) x8 (40)
Round 29. (3 sc, dec) x8 (32)
Round 30. (2 sc, dec) x8 (24)
Continue to stuff and shape
Round 31. (2 sc, dec) x6 (18)
Round 32. (1 sc, dec) x6 (12)
Round 33. (dec) x6 (6)
F/O. Close. Weave in ends.

FINISHING DETAILS
In coastal dot
Round 1. in the FLO of round 22, with the shell facing you, slst into the 1st sc of the round, ch3, 88 tr around LOOSELY. slst into the 1st tr of the round to join. Ch 1 and F/O. Weave in your ends. NOTE: if you prefer to do double crochet instead, this is fine. A tester said it showed the tail more for them!
FINISHING DETAILS
PIN the head into place on the shell using the long yarn tail from the head. I do this between rounds 13-14 of the shell but feel free to pin the head in place where it looks best to you. Because the head of sequoia is very big, you may have to secure a little bit more by sewing. I use cotton yarn to do this.
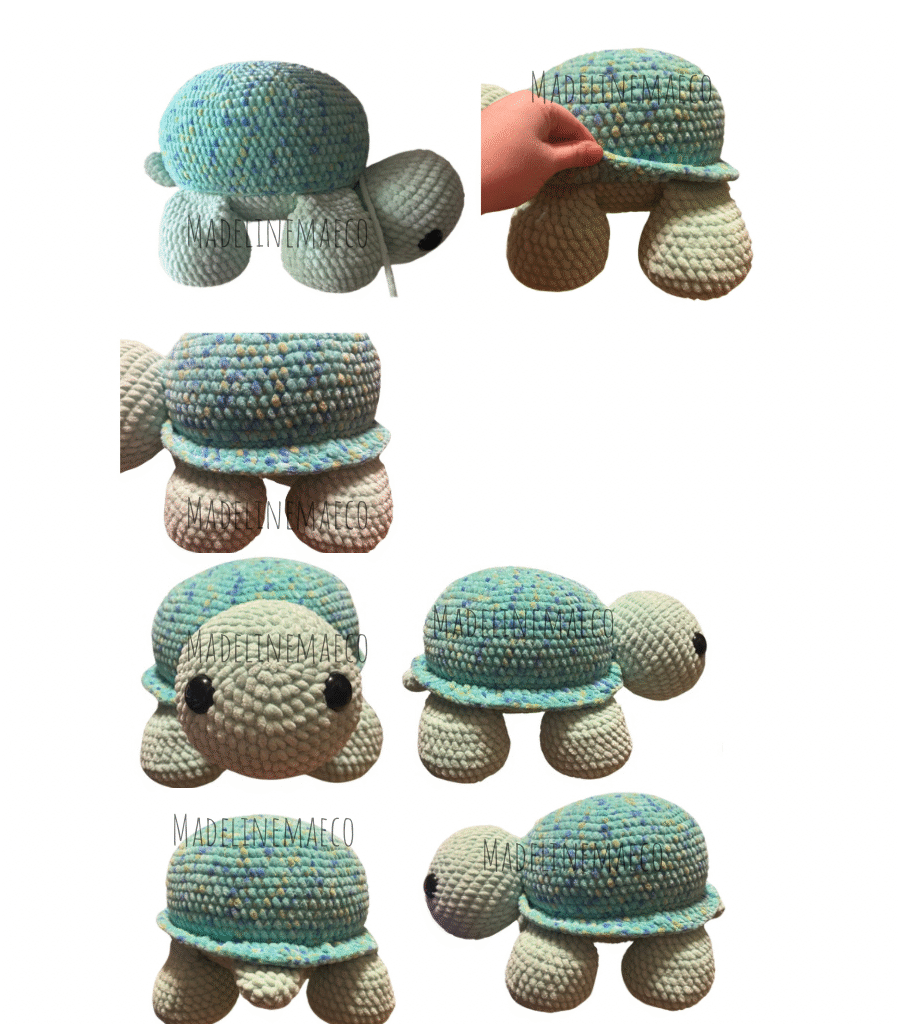
Congratulations! You finished making Sequoia the jumbo turtle!


I hope you enjoyed this pattern and found it easy to follow, I look forward to sharing more patterns with you, hope to see you soon! 🐢